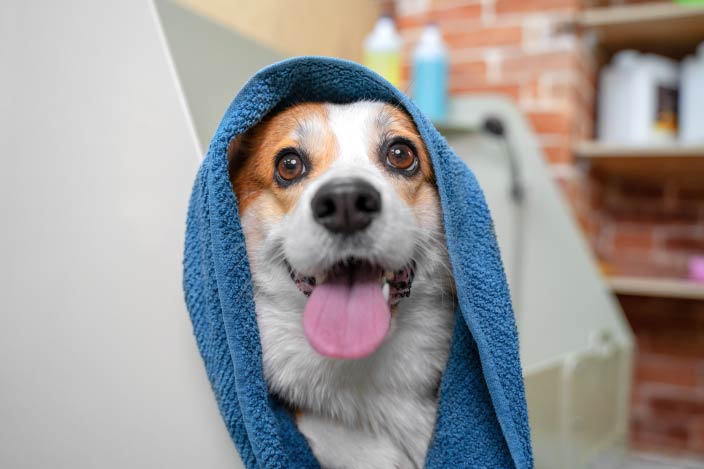
Having a glistening, soft, healthy haircoat is a pretty normal goal for most pup parents to have when it comes to their pooch’s appearance.
Not only does a healthy coat look good, making your pup the envy of the neighborhood, but a soft, shiny coat can also be an indicator of good overall body health.
Keeping your pup well-groomed and making sure her coat is getting the right care and nutrition is as vital as taking care of the rest of her body’s health.
Now, as a veterinarian, I am by no means a grooming expert. In this article, you’re not going to find expert tips for body-clipping your dog better than your local groomer can.
But because good grooming and a healthy coat are certainly integral to a dog’s good health, there are many basic guidelines to follow at home to keep your furry friend’s coat in good shape. Following some of these guidelines might also spare you a visit or two to your vet for some basic cleanliness-related health concerns.
In this article, we’re going to cover the basics of maintenance bathing and brushing. How often do we need to do this and when? Ears and nails are also an important part of grooming, so we’ll cover this too. Lastly, we’ll cover a couple of things you should avoid when it comes to grooming and when it’s best to get a pro involved.
Bathing: How Often to Do It, and What to Use
Just like us, dogs can benefit from regular bathing. But unlike us, they don’t need to have a bath everyday.
Bathing too often can dry out a dog’s skin and coat, which can lead to red, flaky, irritated skin.
That’s why, all else being normal, it’s advisable not to bathe your dog more than once or twice a month.
It is important to bathe your pup after coming in from a day on the trail or frolicking around in the mud. It’s also important to at least rinse him off after going for a swim in the lake or the ocean. While it’s true he’s getting wet, our oceans and lakes aren’t the cleanest places unfortunately and his coat can also pick up lots of particles, debris, and foreign bacteria.
So essentially, bathing involves once to twice a month, plus whenever we need to get cleaned up after an eventful romp outdoors.
When deciding on what shampoo to use, always make sure to avoid using human shampoos. Many human shampoos, especially the ones designed for a dry scalp and dandruff, have chemicals too irritating to a dog’s skin.
Shampoos safe to use for dogs are widely available online and in pet stores. The most common type that can help moisturize the skin, provide some protection, and promote a healthy coat is oatmeal shampoo.
Colloidal oatmeal is the main ingredient in oatmeal shampoo, made by grinding oat grain into a fine powder. In this form, it acts as an emollient, which softens and soothes the skin. Many oatmeal shampoos will also contain aloe, vitamins, and other nutrients beneficial for skin health.
If you ever find yourself in a rough spot with an extremely dirty pup or find a lot of adhered gunk in her hair coat, a safe thing to turn to in a pinch which most folks have at home is dish soap. Your basic Dawn dish soap (NOT dishwashing detergent mind you) is what is used to clean up birds and other animals caught in oil spills. It’s safe and non-irritating to the skin.
If your pup has any special health conditions associated with his skin, like seasonal allergies, atopic dermatitis, or recurrent skin infections, your veterinarian may recommend a medicated shampoo to kill bacterial and fungal overgrowth on the skin and help the skin to heal.
Brushing: The Basics
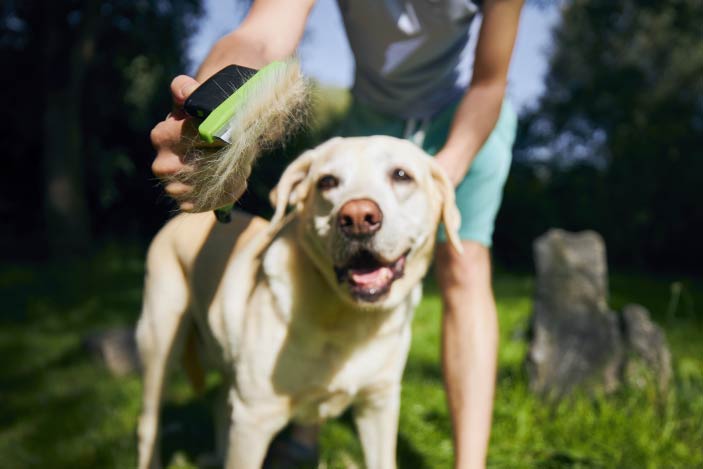
Most dogs shed hair. This is simply a normal process that occurs as the individual hairs go through a cycle of growth, death, and replacement by new hairs. This is very different from our own, which simply grows continuously.
There are certainly some breeds, most notably Poodles and Poodle mixes like Goldendoodles, that don’t shed and for that reason are generally considered hypoallergenic for people sensitive to dander.
But on the flip side of that there are also breeds that have especially robust and fluffy haircoats. Consider your nordic breeds like Huskies and Malamutes. All dogs have hair coats that go through cycles, especially seasonal cycles, but these heavy-coated breeds can exhibit the greatest amount of shedding, especially during the spring when they “blow their coats” to get rid of the heavy winter coat layer in advance of warmer weather.
The amount of brushing you have to do and how often you should do it can depend largely on what type of haircoat your pup has. So does the type of brush you should use.
If you have a non-shedding breed, like a Goldendoodle, it might still be handy to have a simple brush nearby to untangle some knots if they happen, but you won’t have to do a lot of work.
But if you have a heavy-coated breed, you probably can’t brush her enough–at least a couple of times a week may be needed at the minimum. It’s especially important to do some extra brushing during major shedding times.
Dogs have extra heavy shedding during two major times of the year. The biggest is during the spring or early summer when the heavy winter coat starts to fall out. The second is when the summer coat sheds out to make room for the heavy winter coat to grow in.
With breeds that have heavy shedding periods like this, which is termed “blowing a coat”, it’s best to use a special type of brush that can get the deep undercoat out. A slicker brush or a hair removal tool called the Furminator are the best tools to use.
Depending on what type of haircoat your pup has, the cost of not engaging in regular brushing can mean the development of hair mats. These are tangled wads of hair that can become very difficult to brush out and often need to be removed with grooming clippers. Matted hair can also sometimes contribute to the development of hot spots and nasty dermatitis.
When brushing and inspecting your pup for mats, don’t just focus on his back and main body trunk. Matted hair often occurs around the ears, armpits, groin, and the “feathers” around the ends of the legs near the feet. Make sure to keep an eye on these areas too.
Ear Care at Home: How to Clean, What to Use
Routine ear care can be very important for many dogs, so it’s naturally incorporated with grooming visits. But you can do a lot of great maintenance care at home yourself.
The importance of ear health as well as some diseases of the ear canals of dogs and how they’re treated are covered in more detail in the article How to Deal with Your Dog’s Ear Infection. For our purposes here, we’ll briefly go over the main points, but mostly focus on maintenance cleaning.
A dog’s ear canals are much longer than our own, shaped kind of like an “L” that first goes downwards, then makes an abrupt 90 degree turn horizontally in towards the head. Our own ear canal is very short and only horizontal by comparison. This length and angle of the ear allows for sound amplification but also lends to it entrapping moisture and debris.
The skin of the ear creates material as part of some of its normal processes, a substance called cerumen. Ceruminous production can lead to a waxy-type debris getting trapped in the narrow space of the canal, causing plugs. If a pup has a lot of hair down in the canal, as some do, mats of hair and wax can form.
With some moisture or water after a bath or swimming, you can add into the mix some bacterial or fungal yeast, who love that warm, moist environment with a nice nasty biofilm to grow in.
If your pup has very few ear issues, it can still be appropriate to clean his ears a couple of times a month, as well as after baths or swimming. For dogs that have a history of ear issues, like heavy debris build up or infections, cleaning once a week is better.
The type of ear cleaner can make a difference. The best products to use contain either drying agents, like 2% salicylic acid, or an agent that breaks up ear wax and debris, like squalene. This is because your two biggest enemies of ear canal cleanliness, besides excessive hair in or around the ear canal, is moisture and wax build-up.
If your dog has a history of ear infections, it’s always useful to have on hand an ear cleaner that is safe to use in case an infection has led to rupturing an eardrum. Believe it or not, you may not have any indication this has happened during the process of an ear infection and is the reason it’s always best for your vet to take a look anytime your pup develops one. Some products that are safe and effective to use include squalene products, trizEDTA products, and cleaners containing 1-2% acetic acid.
To clean your dog’s ears, the best way is to first loosen up any debris. To do this, squirt some of the ear cleaning solution down the ear canal hole, then massage the base of the ear. You should be able to hear a characteristic “squelching” sound. This helps to dislodge debris clinging to the wall of the canal.
Then, let your dog give a good shake. Besides dislodging more debris, this action may also fling some of it out for you. Helpful to be sure, but make sure to shield your face.
Finally, use some cotton balls to wipe out whatever you can see or get to easily.
Trimming or plucking ear hair has always been a bit of debate. Having a groomer trim the hair around the ears or as close as possible in the outer ear can always be helpful for opening up the canal to the outside world.
Plucking is a little different. Some dogs, especially Poodles and Poodle mixes like Goldendoodles, can have a lot of hair that grows down into the ear canal. While not solely responsible in most cases for causing ear infections, this extra hair definitely complicates things.
If your dog has a lot of hair in her ears and has recurrent issues with ear infections, I am an advocate of plucking them to keep them clear, as this also helps with cleaning and medicating. Yeast and bacteria can cling to the hairs if they’re present, causing a perpetual problem.
Plucking can be kind of irritating to the ears as well though, so if there is a chronic condition that makes plucking them worthwhile, I also recommend having your vet prescribe a cream or ointment approved for use in the ears to use for a day or two after plucking to calm down any irritation.
Nails: Pedicures and Patience
The idea of doing a nail trim at home can be daunting, stressful, or awkward for many pup parents.
Some well-meaning parents give it a try once and cut one nail too short. This causes a brief panic with a bleeding nail and a sore pooch, but a long-term barrier for both parties being interested in trying again.
Some dogs also just hate the sensation of their feet being touched and the pressure of nail clippers, turning what looks like a simple process into a wrestling match.
So it’s okay if you want to leave it up to the pros at your local groomer or vet clinic. It’s not surprising this is probably the most-requested “add-on” procedure during routine healthy visits for dogs.
But visits to the vet can also be stressful, so here’s some tips that can help approach this issue at home, hopefully before an unfortunate “nail-clipped-too-short” moment occurs.
First, start early with nail trims. Our practice always does courtesy nail trims for puppies during their first visits with us, to get them used to having their feet handled and nails trimmed. Making this a positive experience very early on is key to being able to continue doing it for years to come.
Second, always continue to make it a positive experience. Provide treats before, during, and after nail trims and proceed at a pace that makes it easiest on both of you.
Third, set reasonable goals. If your pup gets stressed after you finish just one foot, take a break before trying again. Go for a walk or a drive. Or, come back and try again tomorrow.
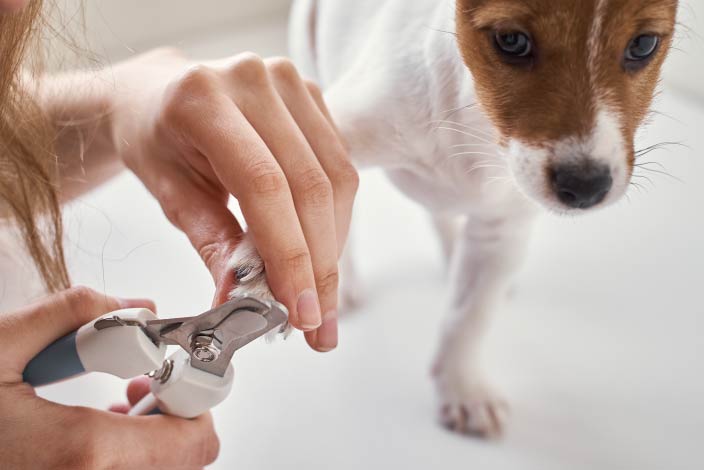
If you haven’t trimmed nails before, the biggest rule to do it safely and painlessly for your pup is to avoid the “quick”. The quick is another name for the small blood vessel that supplies the nail bed.
In dogs with clear or white-colored nails, the quick is pretty easily visible. When clipping nails, all you have to do is stay a couple millimeters in front of it. Take off small pieces at a time and work your way up the nail instead of trying for a single “one and done”. You’re far less likely to take things too short.
Dogs with dark hued or black nails are a challenge, and that even goes for vet staff because no one can see the quick. The trick to trimming black nails is to take off small pieces at a time.
You can also work off of other clues too. The quick only supplies healthy nail. If the end of the nail appears brittle, hollow, or chipped, there’s unlikely to be anything there that can bleed, and should be easily removed.
When in doubt with trimming black nails, a good rule of thumb is to not clip off more than ¼ of the visible nail. Any more, and you’re more likely to make your pup ouchy.
What NOT to Do When Grooming
Getting some tips on what to do is helpful, but knowing what not to do is just as important.
Here’s a couple of pointers on what to avoid.
Don’t Use Scissors
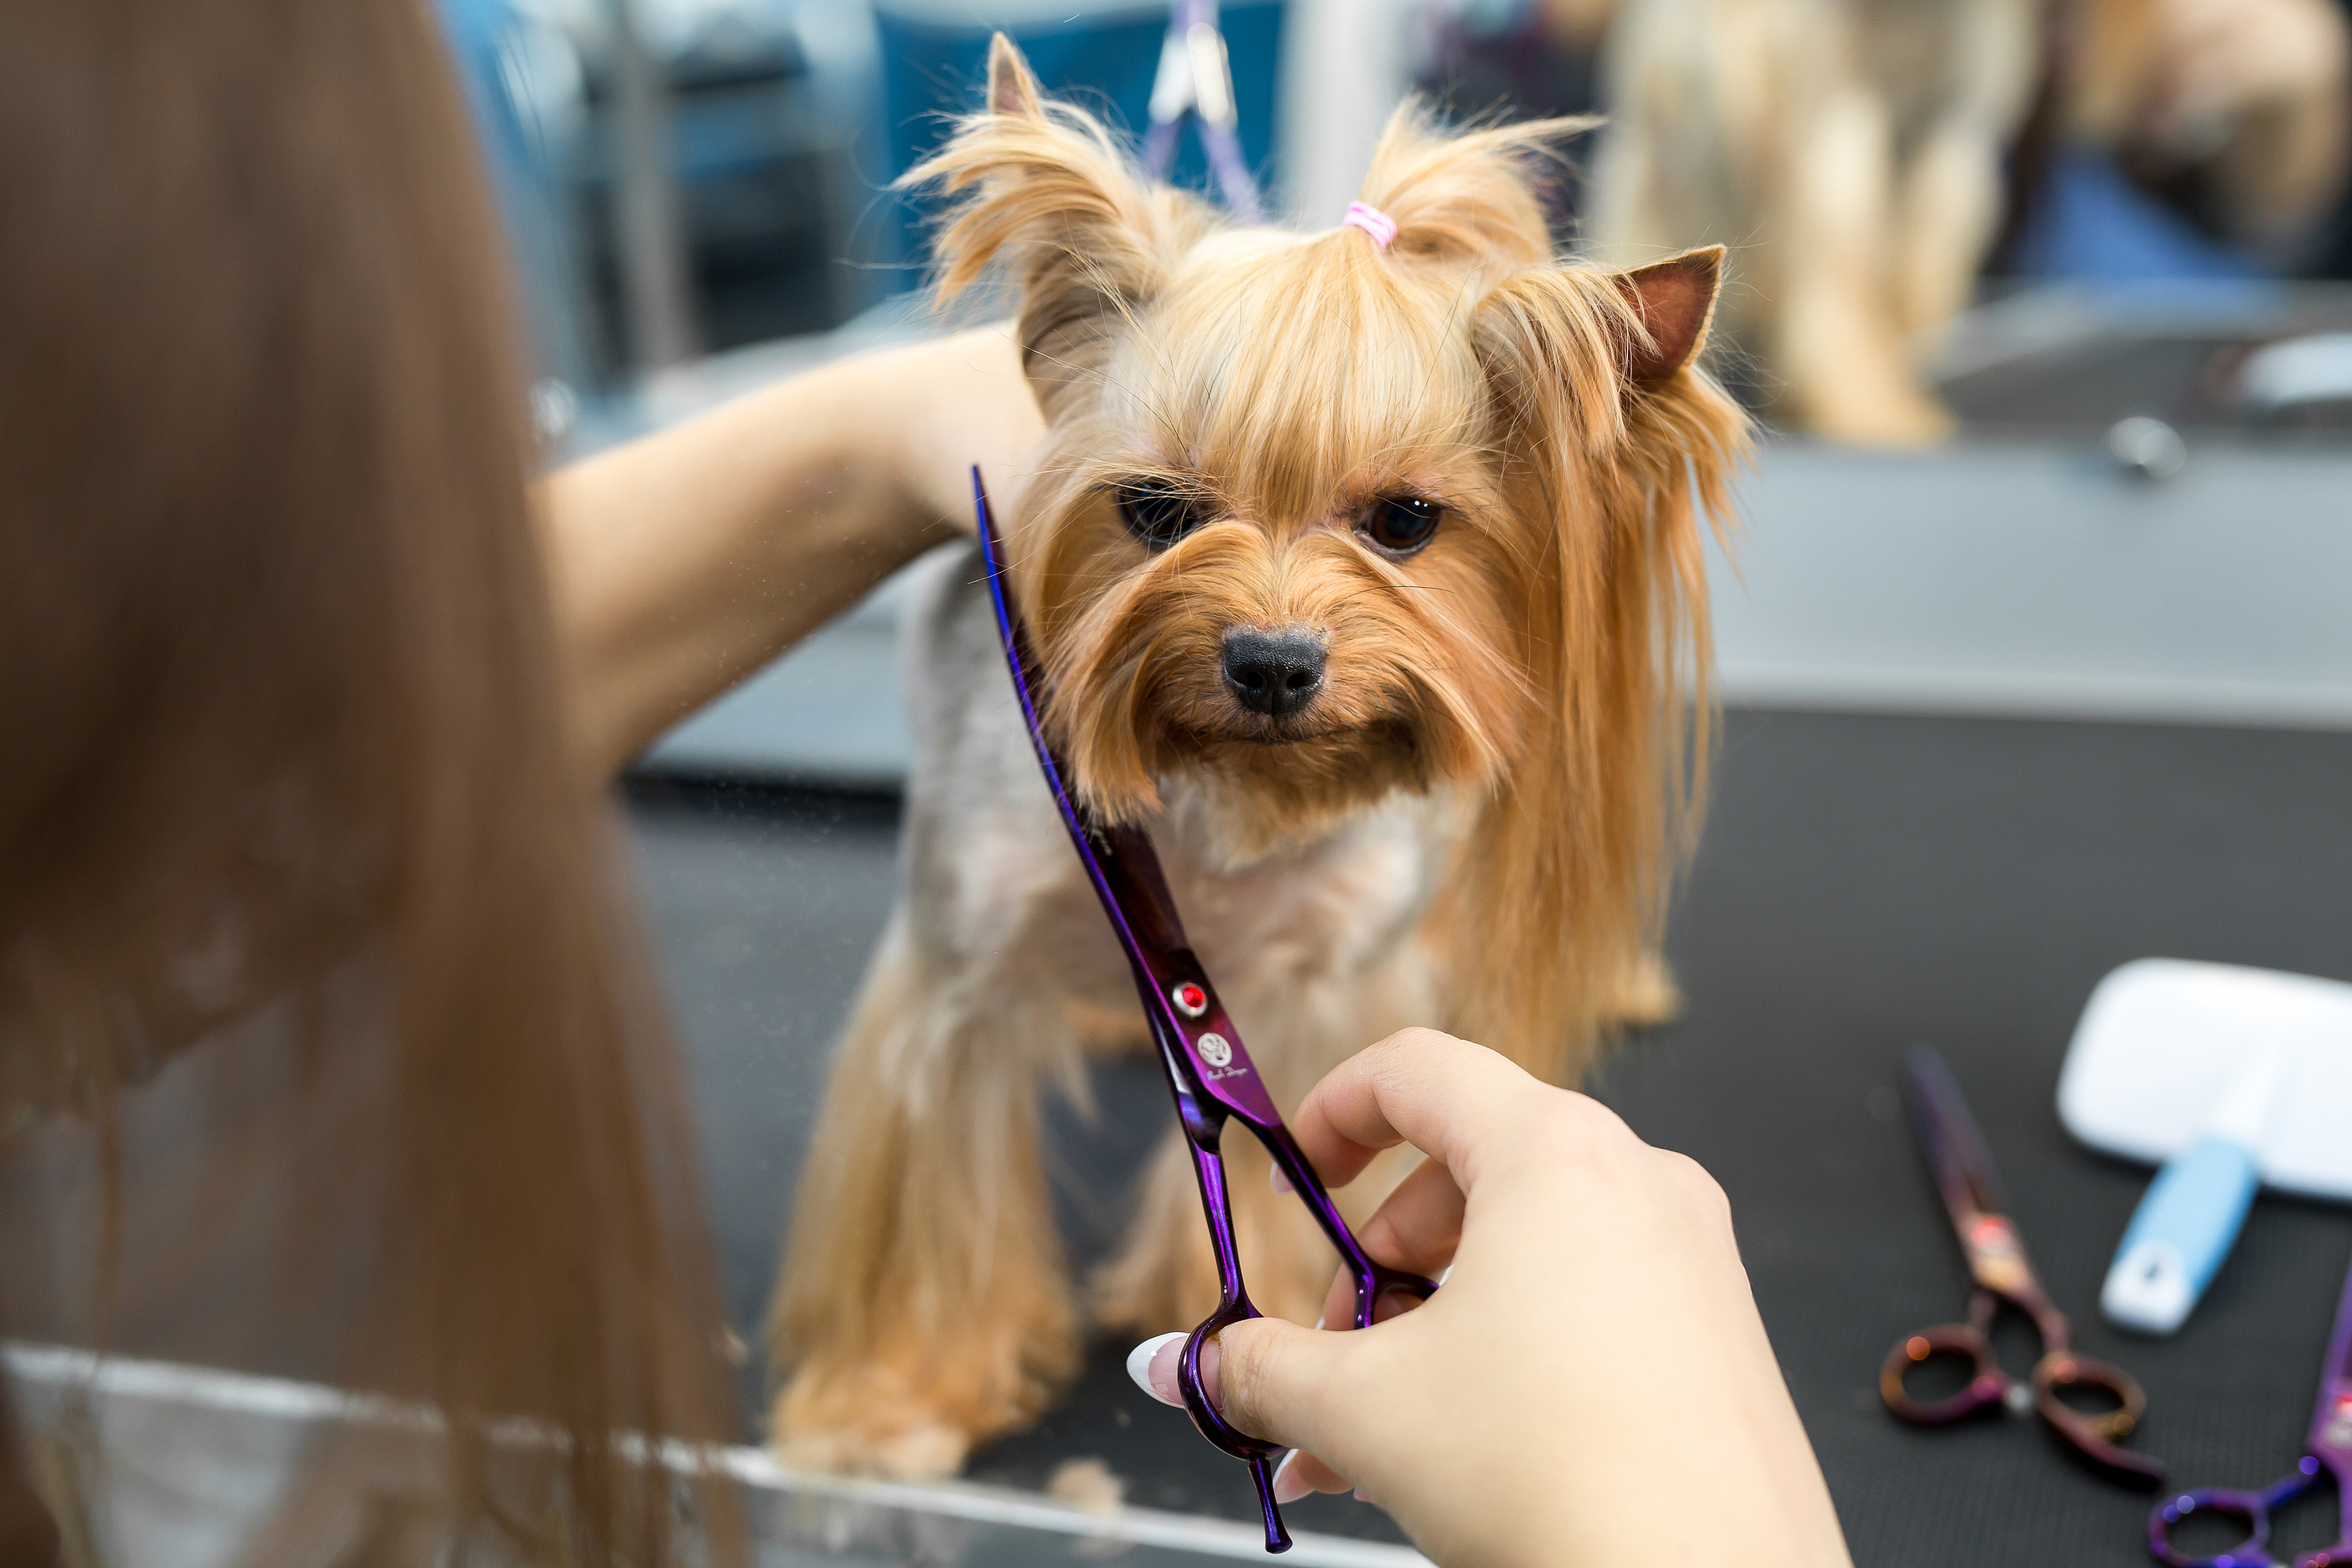
On occasion, I’ll see a dog come into the clinic with cuts or lacerations caused by a well-meaning pet parent who tried to do some grooming or hair mat removal at home with a pair of scissors.
Dogs can be unpredictable, a fact all of us who live and work with them know. If you’re working with scissors close to the skin, a sudden jerk is all it takes to clip a little too close. A dog’s skin is also very stretchy and some folks don’t realize just how much skin they’ve lifted up when moving in for a quick mat trim.
This is why, if your pup has a history of getting some tangled fur or some small mats, it might be worth investing in a decent pair of clippers. With a clipper guard on there, you can’t go wrong. If you have any doubts, your local groomer or vet clinic can also easily take care of removing mats.
Don’t Try to Express Anal Sacs
Anal sacs (or glands as they’re also called) are little pouches inside your dog’s bottom on each side. Their purpose? To scent poop! And normally, during bowel movements, these sacs express a fishy, pungent smelling fluid.
Scooting on the ground and licking back there more often than normal can sometimes be a sign that your pup is having trouble expressing them. There can be many factors contributing to this from allergies, to soft stool, to being overweight.
This means that sometimes, in addition to managing whatever the underlying condition is, they need to be expressed manually. It’s tempting to want to learn how to do it yourself, but I always advise against it.
Learning to express anal sacs properly and safely takes a long time, sometimes months for a new vet assistant. First, you have to insert a finger into your pup’s bottom, then you have to realize what you’re looking for, then it takes just the right amount of pressure and direction.
Anal sac expression is unpleasant for many dogs (can’t blame them) and so it’s always best if it’s done quickly, but gently. You don’t want your pup associating this uncomfortable experience with you at home. Too much pressure can lead to more pain and even damage to the anal sac tissues.
Lastly, everything involved with anal sac expression is based on feel. Learning what they normally feel like is one thing. But you also have to be able to tell when something isn’t right. Is an anal sac impacted, infected? Is there a mass there? Veterinary staff, as well as a good local groomer, are always on the lookout for these abnormalities.
What Not to Use in Your Pup’s Ears
As mentioned, cleaning ears at home is perfectly fine and important to do regularly for many dogs. But we need to make sure we use the right materials and tools to do it safely. Hence, as you guessed, there are a few “don’ts”.
First, I don’t advise using Q-tips to clean with. A dog’s ear canals are long, but cramming a Q-tip down there can create a big risk for damaging the eardrum. When we do ear cleanings at the vet hospital, we often do use Q-tips, but staff are trained to know how deep is safe and when to stop.
For ear cleaners, make sure to stick to the cleaner types referenced earlier. Stay away from using household products like alcohol, vinegar, hydrogen peroxide, and tap water. While alcohol, vinegar, and hydrogen peroxide will certainly kill bacteria, they’re too irritating to tissues in the ear and not safe to use if the eardrum becomes damaged from a bad infection. While water is safe enough to use, it can really just sit down in the ear, adding to moisture and a growth medium for bacteria and yeast.
When to Involve a Groomer
Some pups have greater grooming needs than others and some just require a lot more maintenance. Some breeds, like Shih Tzus, really need to have the fur around their face trimmed to keep it out of their eyes. Some of the heavy-coated breeds do better with a full body clip during the summer.
There can be lots of reasons, depending on your comfort level and your pup’s needs, to get a groomer involved with your pooch’s care.
Just like when choosing your veterinarian, make sure your groomer is someone who is willing to take the time to talk things over with you and make sure all of your pup’s needs are being met (along with whatever you’re looking for with a specific groomed look).
If your pup is prone to haircoat, skin, and ear issues, it can be helpful to find a groomer that works with a local vet. That way if he or she picks up a health concern when cleaning ears, trimming nails, doing a bath, expressing anal sacs, etc., the vet can be notified to take a look and see if something medical needs to be addressed.
Keeping Your Pooch Prim, Perfect, and Less Stressed
Some dogs require very little grooming care, while others require quite a lot of regular attention. Your veterinarian can be a good resource to help you know, at least from a health perspective, what those specific needs might be.
The bond we share with our pets is so important not just to us but to our pets too. Make sure that when it comes to grooming practices, you know where the limitations are. Some things you may be able to do at home, and should. Use the pointers in this article to help.
But if trying to trim nails, clean ears, or addressing other regular grooming care turns into a struggle at home, consider involving a professional, whether this be your vet or local groomer.
And if some of these things, especially nail trims, are especially stressful for your pup, your vet can also make some suggestions to help relieve some of this anxiety for your furry friend, either through approaching things in a certain way, or considering some short-acting anxiety medication options.
About Us
We've taken the guesswork out of caring for your pets. Our formulations are created by experienced veterinarians to address specific solutions for a variety of pet issues.
All of our products are:
As seen on:


